To set up XAMPP in Windows 10, you can follow these steps:
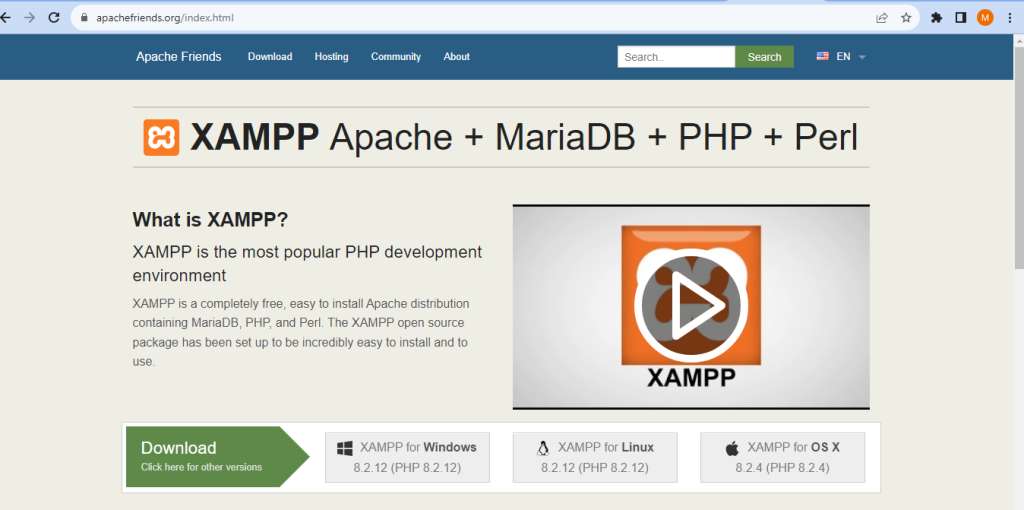
- Visit the official XAMPP website at https://www.apachefriends.org/index.html and download the latest version of XAMPP for Windows.
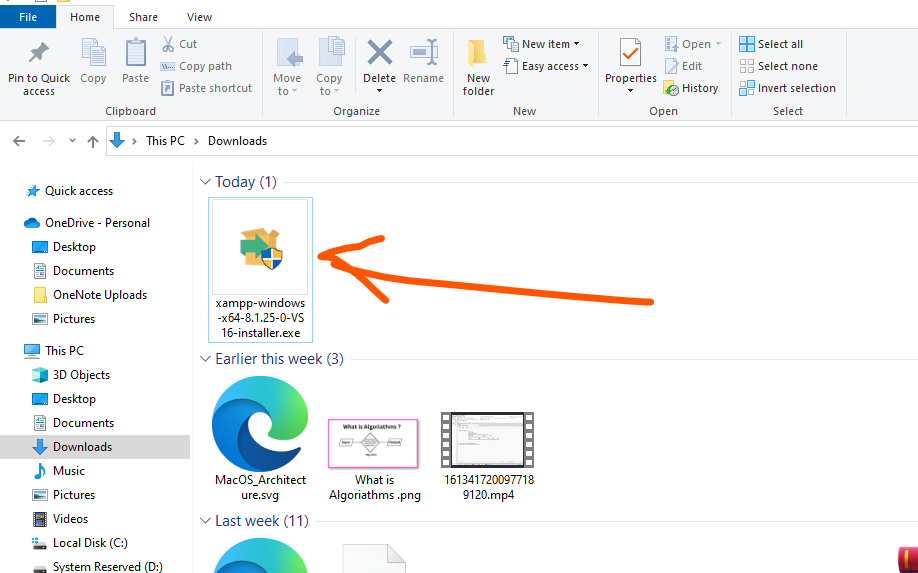
2. Once the download is complete, locate the downloaded file and double-click it to initiate the installation process.
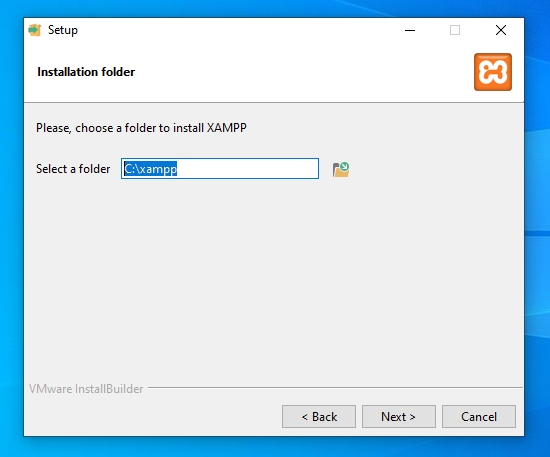
3. Follow the on-screen instructions to install XAMPP on your Windows 10 machine. Choose the components you want to install (e.g., Apache, MySQL, PHP, etc.) and select the installation directory.
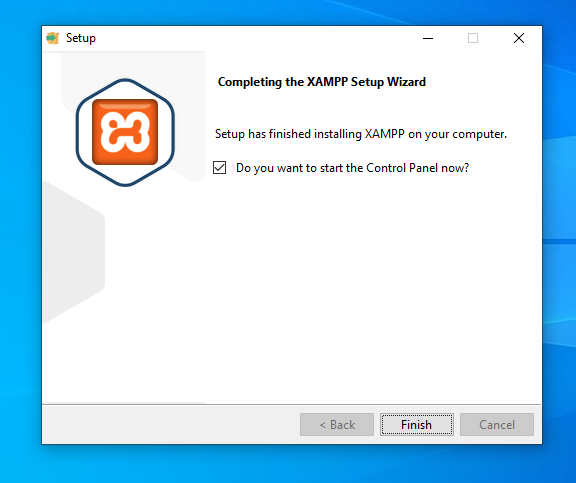
4. After the installation is complete, open the XAMPP Control Panel from the Start Menu or Desktop shortcut.
5. XAMPP Control Panel will open up, showing various modules such as Apache, MySQL, FileZilla, and more.
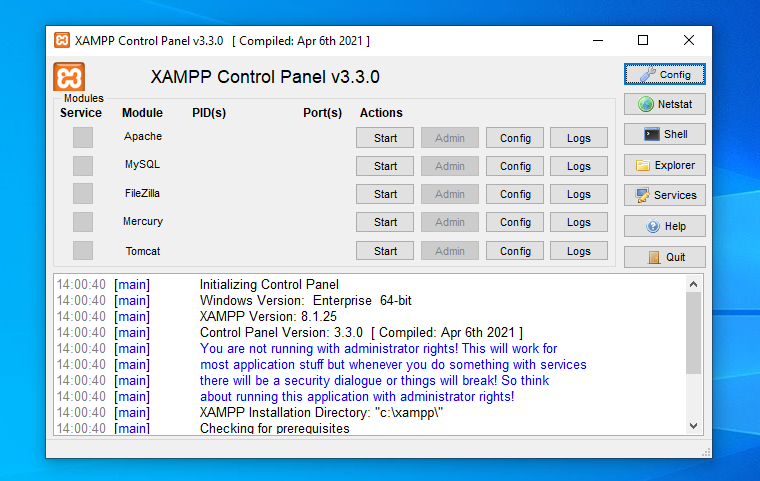
6. Start the Apache and MySQL modules by clicking the “Start” button next to each module. If any of the modules do not start, check for errors in the XAMPP logs or verify that the required ports are not being blocked by other applications.
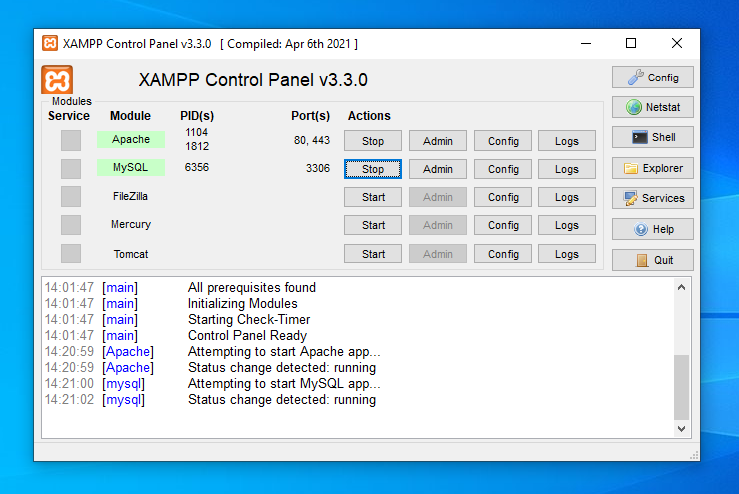
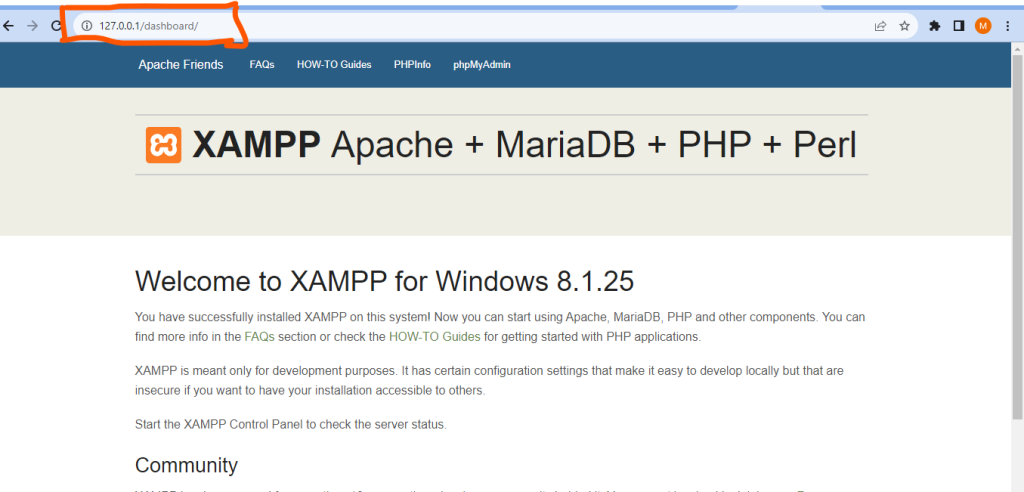
7. Once both the Apache and MySQL modules are running, open your web browser and type “localhost” or “127.0.0.1” in the address bar. This will bring up the XAMPP dashboard, confirming that XAMPP is successfully installed.
8. To access the files for your web development projects, navigate to the XAMPP installation directory and locate the “htdocs” folder. Place your project files in this folder.
9. You can now access your web project by visiting http://localhost/<project-folder-name> in your web browser.
Congratulations! You have successfully set up XAMPP on your Windows 10 machine.